Configuring the 3CX Windows app
The new Microsoft Store 3CX app allows you to receive calls to your extension using your PC.
If your currently installed application is named "3CX Desktop App" or "3CXPhone for Windows", these are legacy versions that are no longer being maintained and will need to be replaced for newer versions of 3CX:
| 3CX Desktop App | 3CXPhone for Windows |
|---|---|
 |  |
Downloading the Windows app
- To download and install the new 3CX app, first log into your company web client using your extension number and password.
-
This can be found at
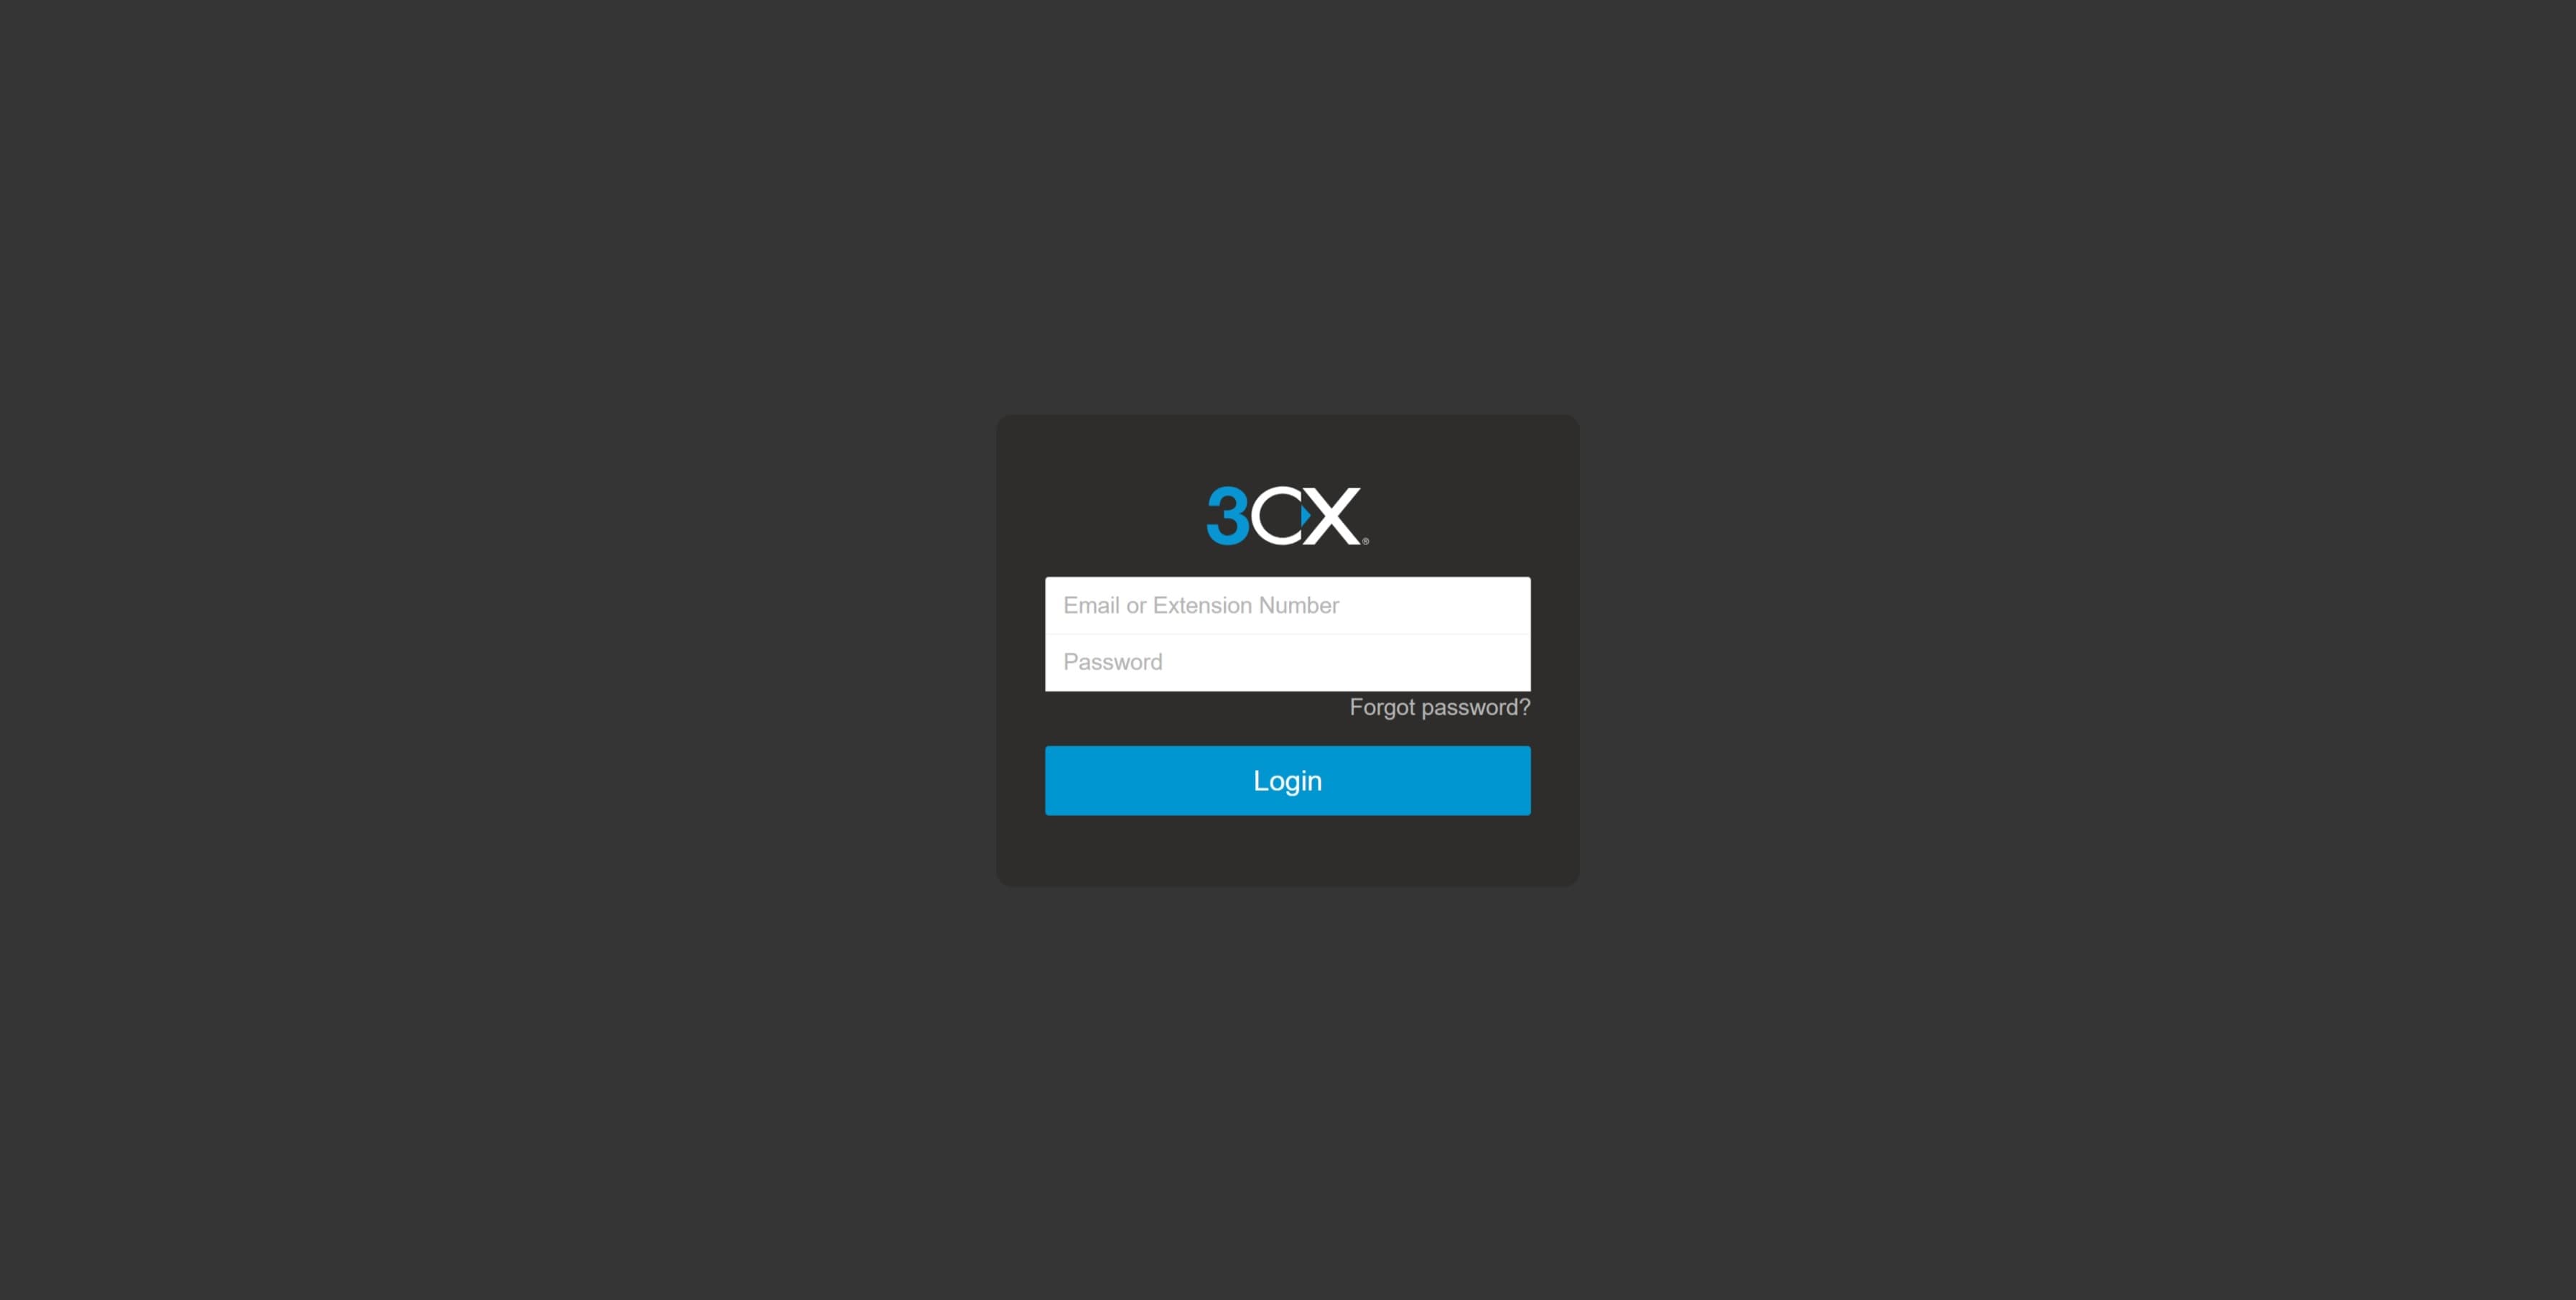
https://<company>.pbxblue.com/webclient, which should lead you to the login screen shown below. -
If this is your first time accessing your 3CX account, instructions to set up your 3CX extension as well as the link to access your webclient can be found in your PBX Blue Welcome Email.
-
If you come across any issues or cannot find the Welcome Email, contact the Private Universe Helpdesk.
-
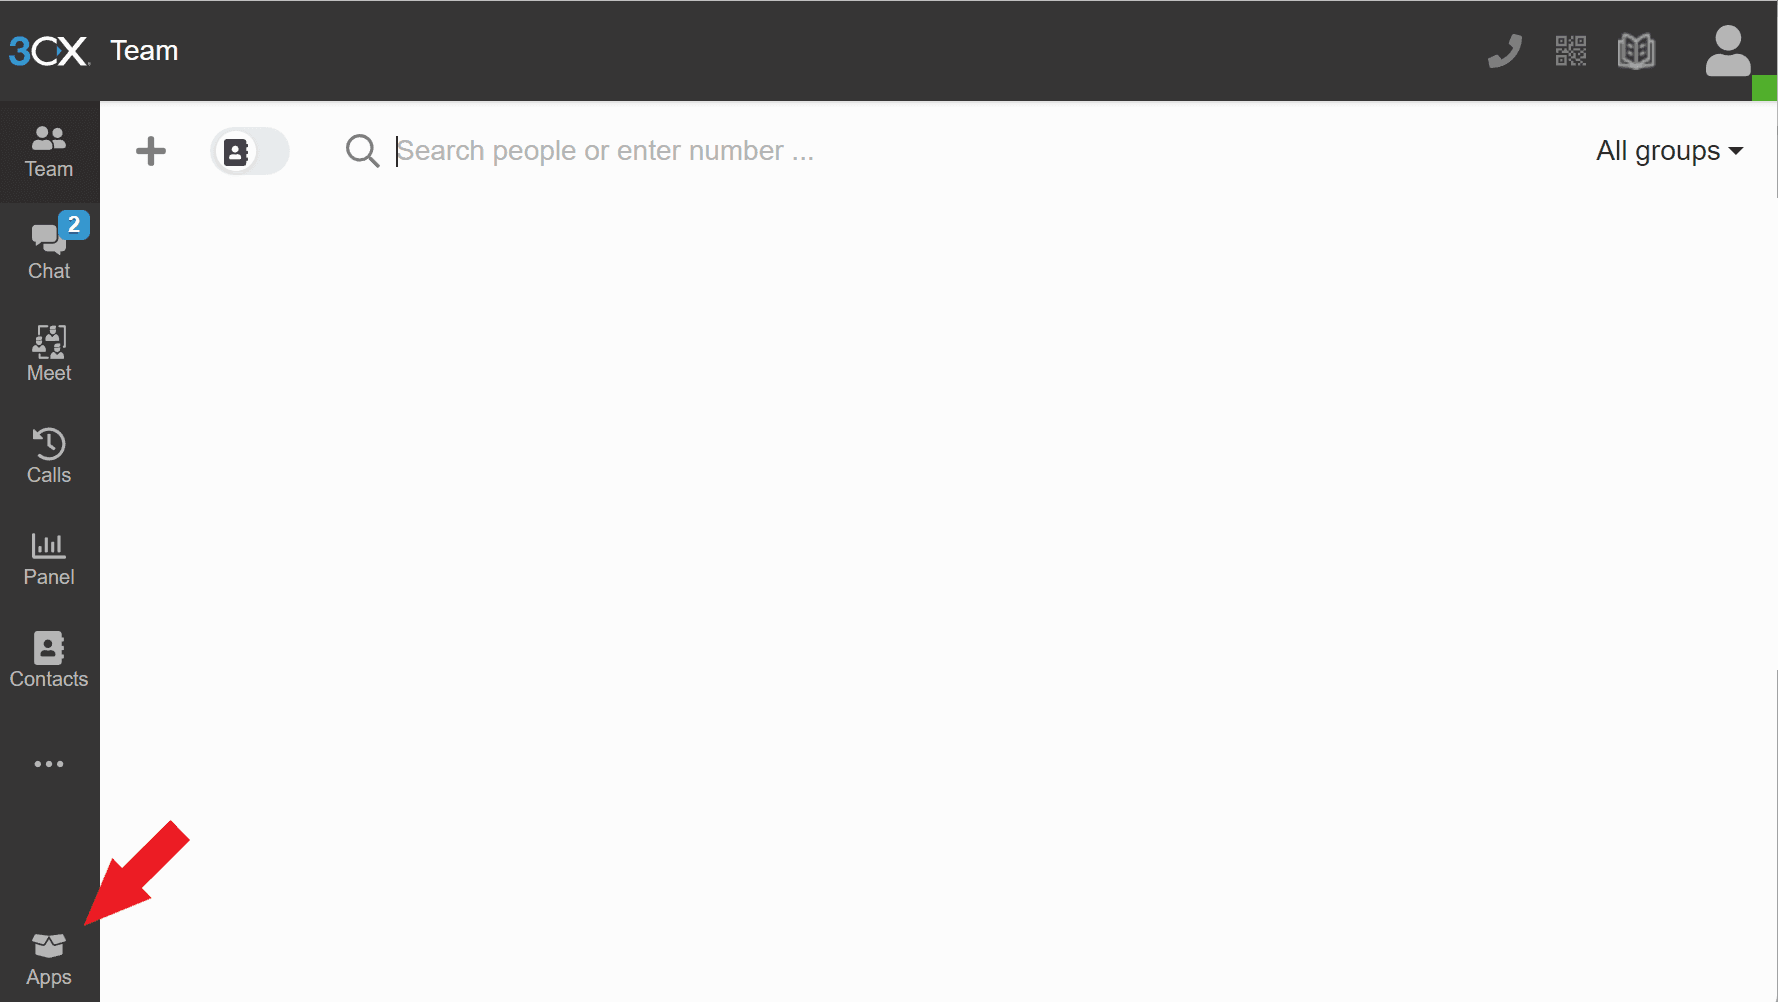
Upon logging into your web client, you should find yourself on a screen similar to the one below. Find and click on the "Apps" button in the bottom right corner.
-
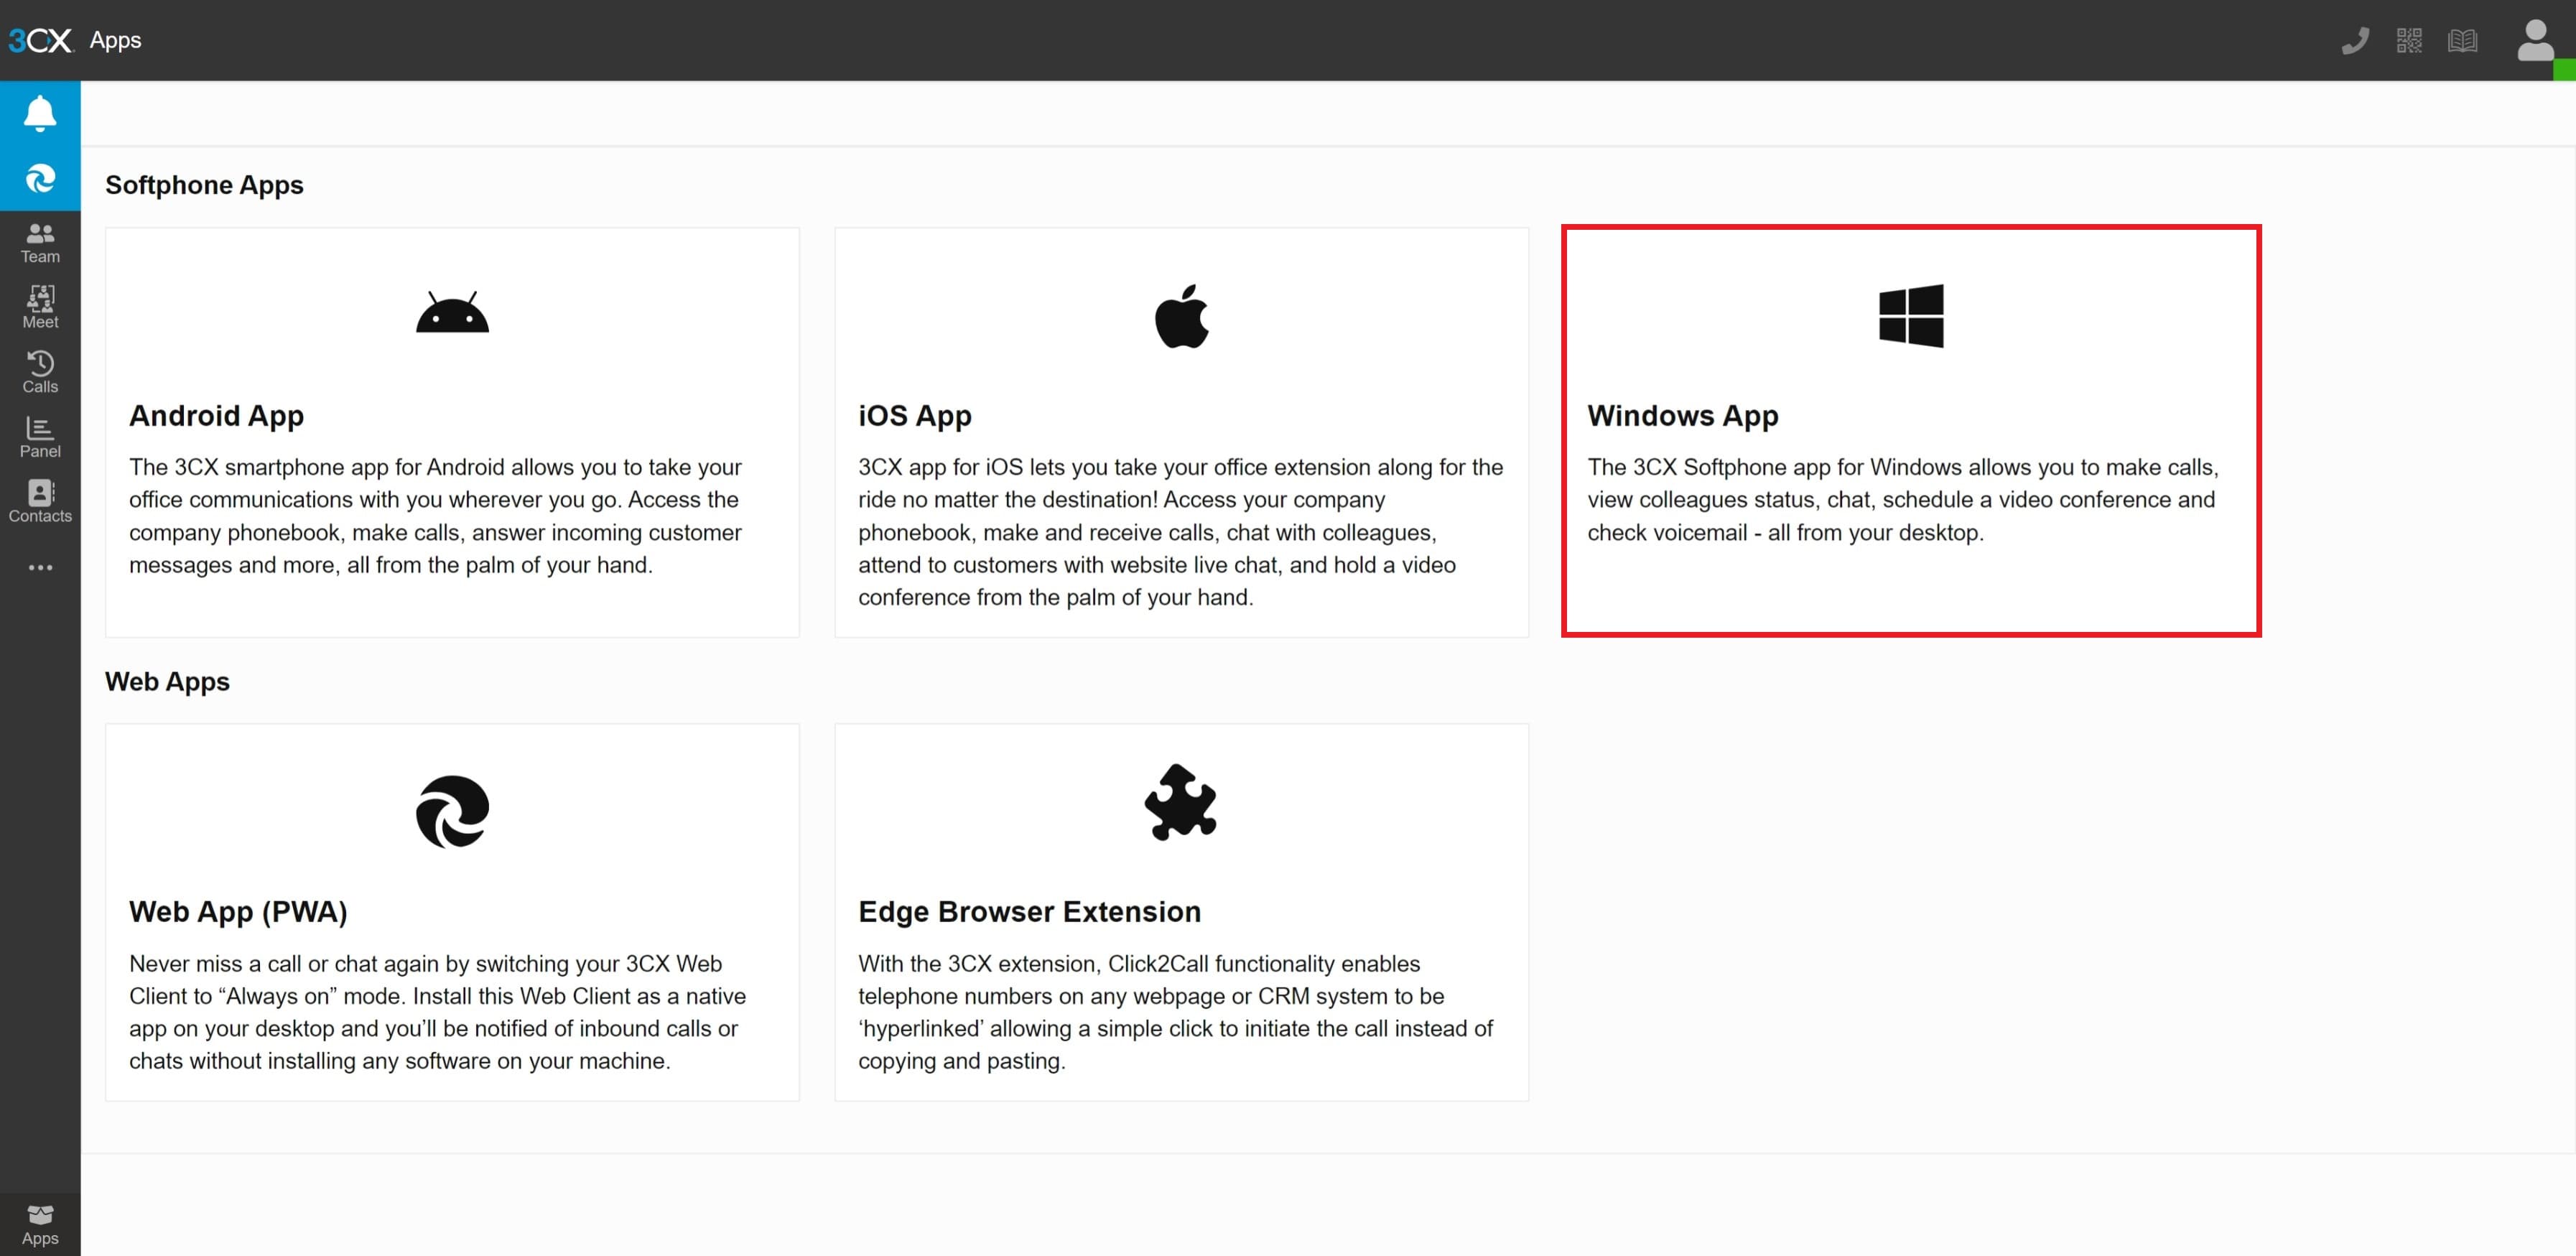
This will bring you to a new screen, where you will have the option to download several 3CX apps. Click on the option for "Windows App".
-
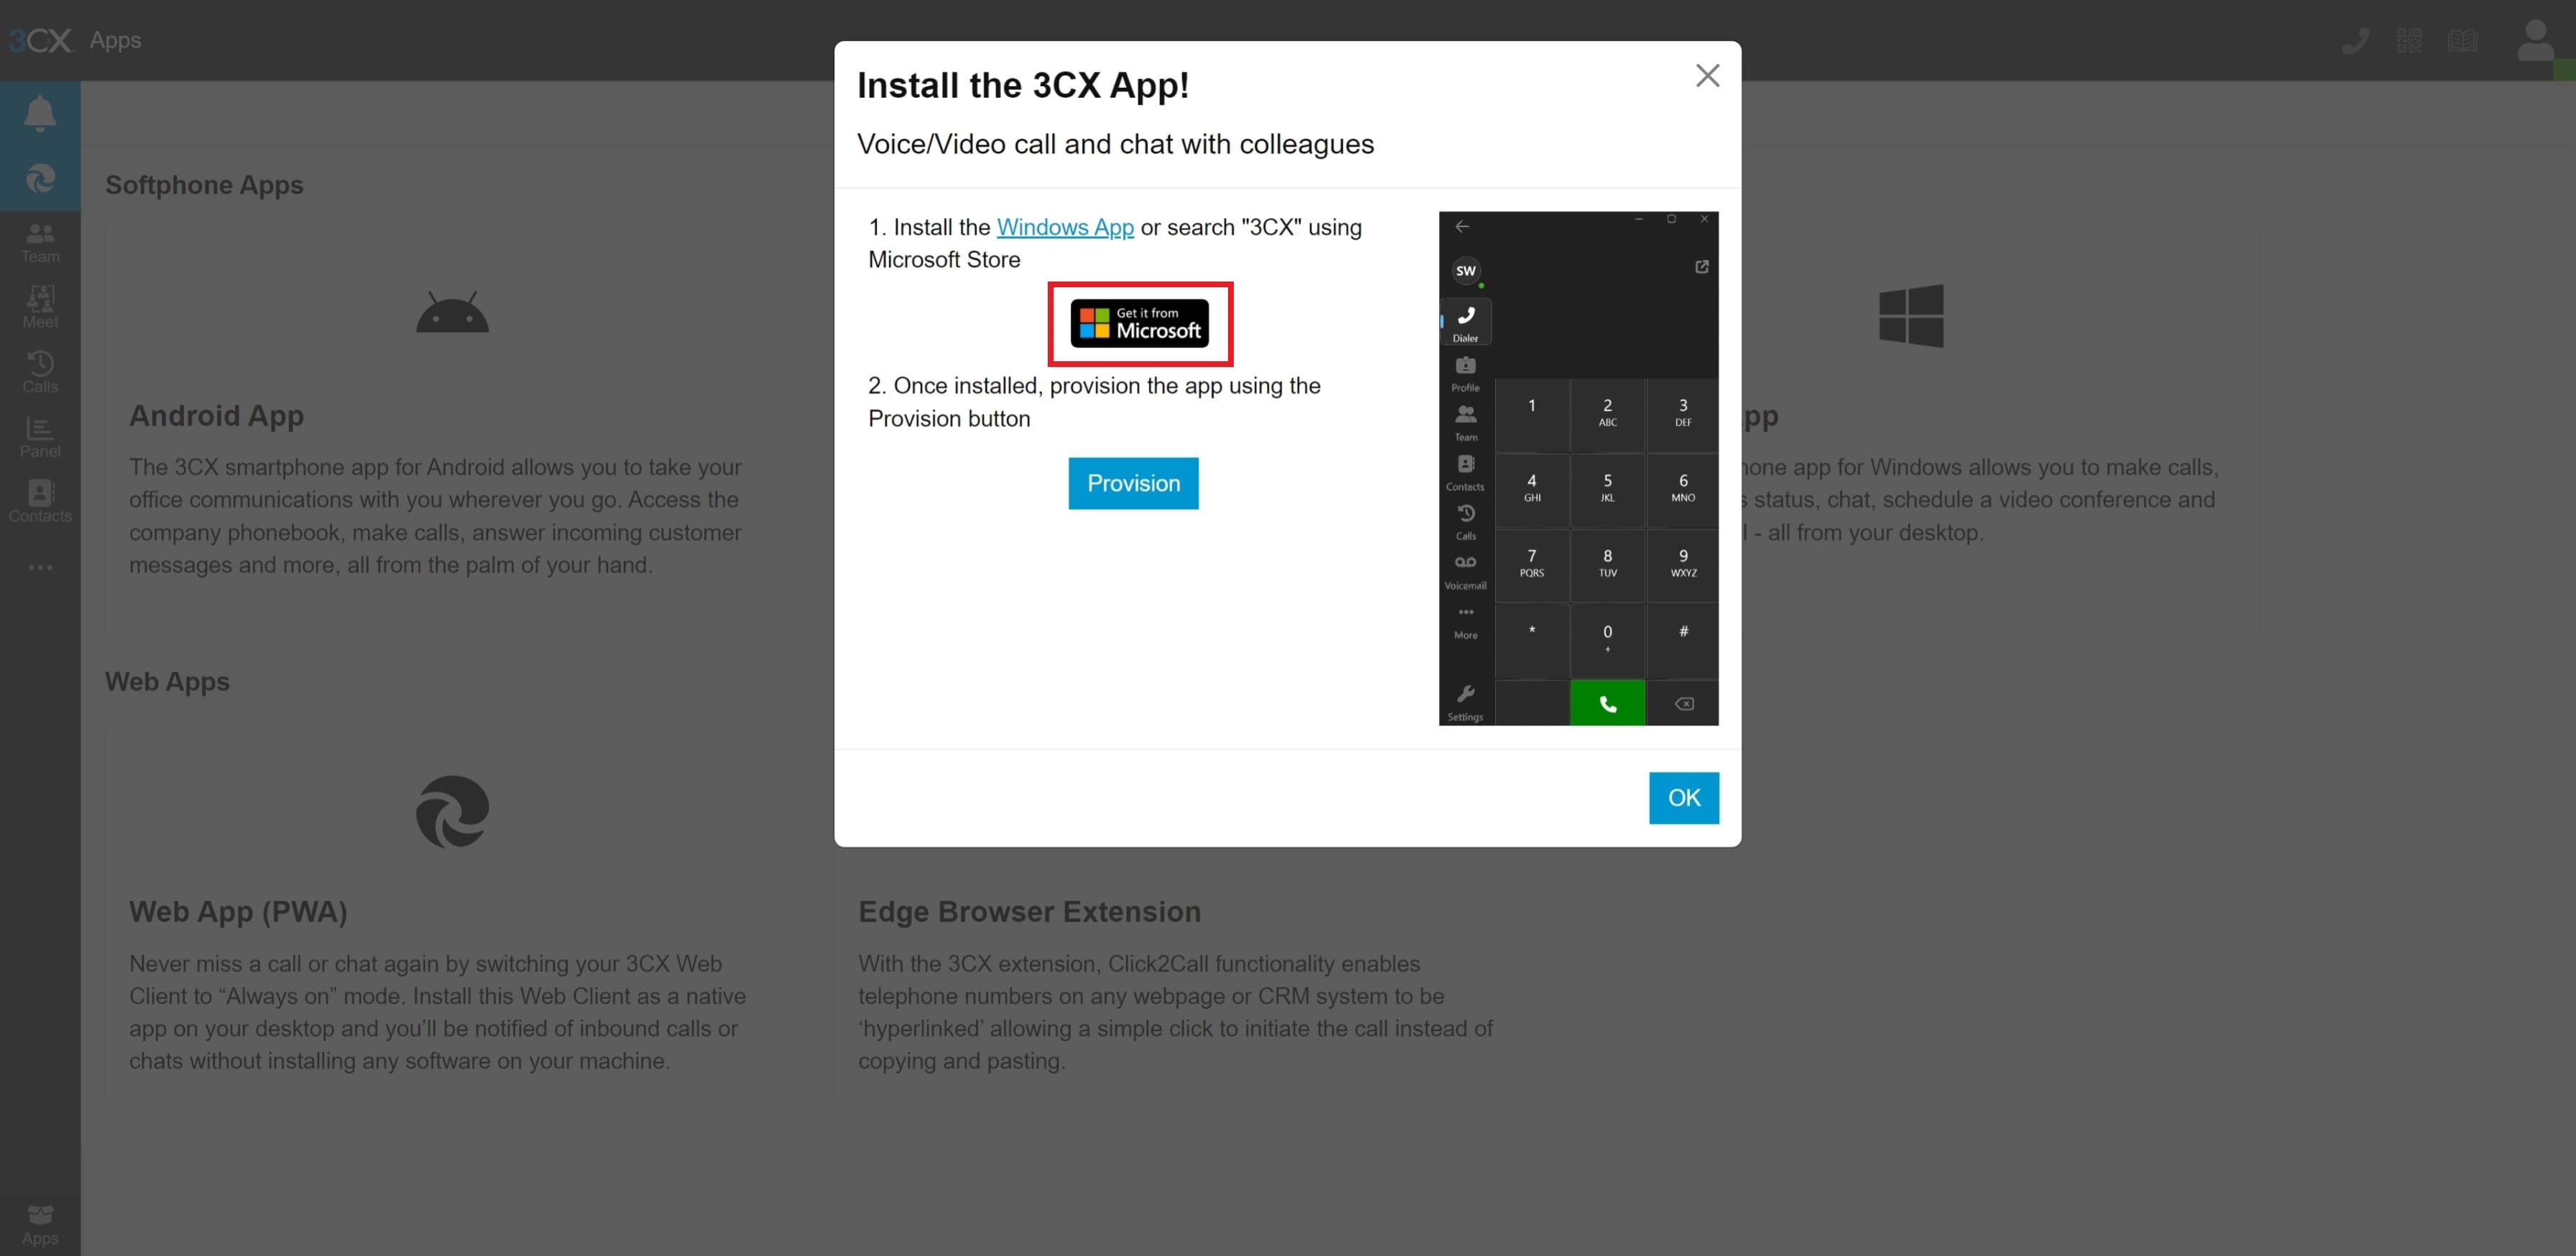
You will get a pop-up that looks like this. Click on the "Get it from Microsoft" button to open the Microsoft Store page for the new 3CX app, and click Download. If the Store link does not open, click here (opens in a new tab).
-
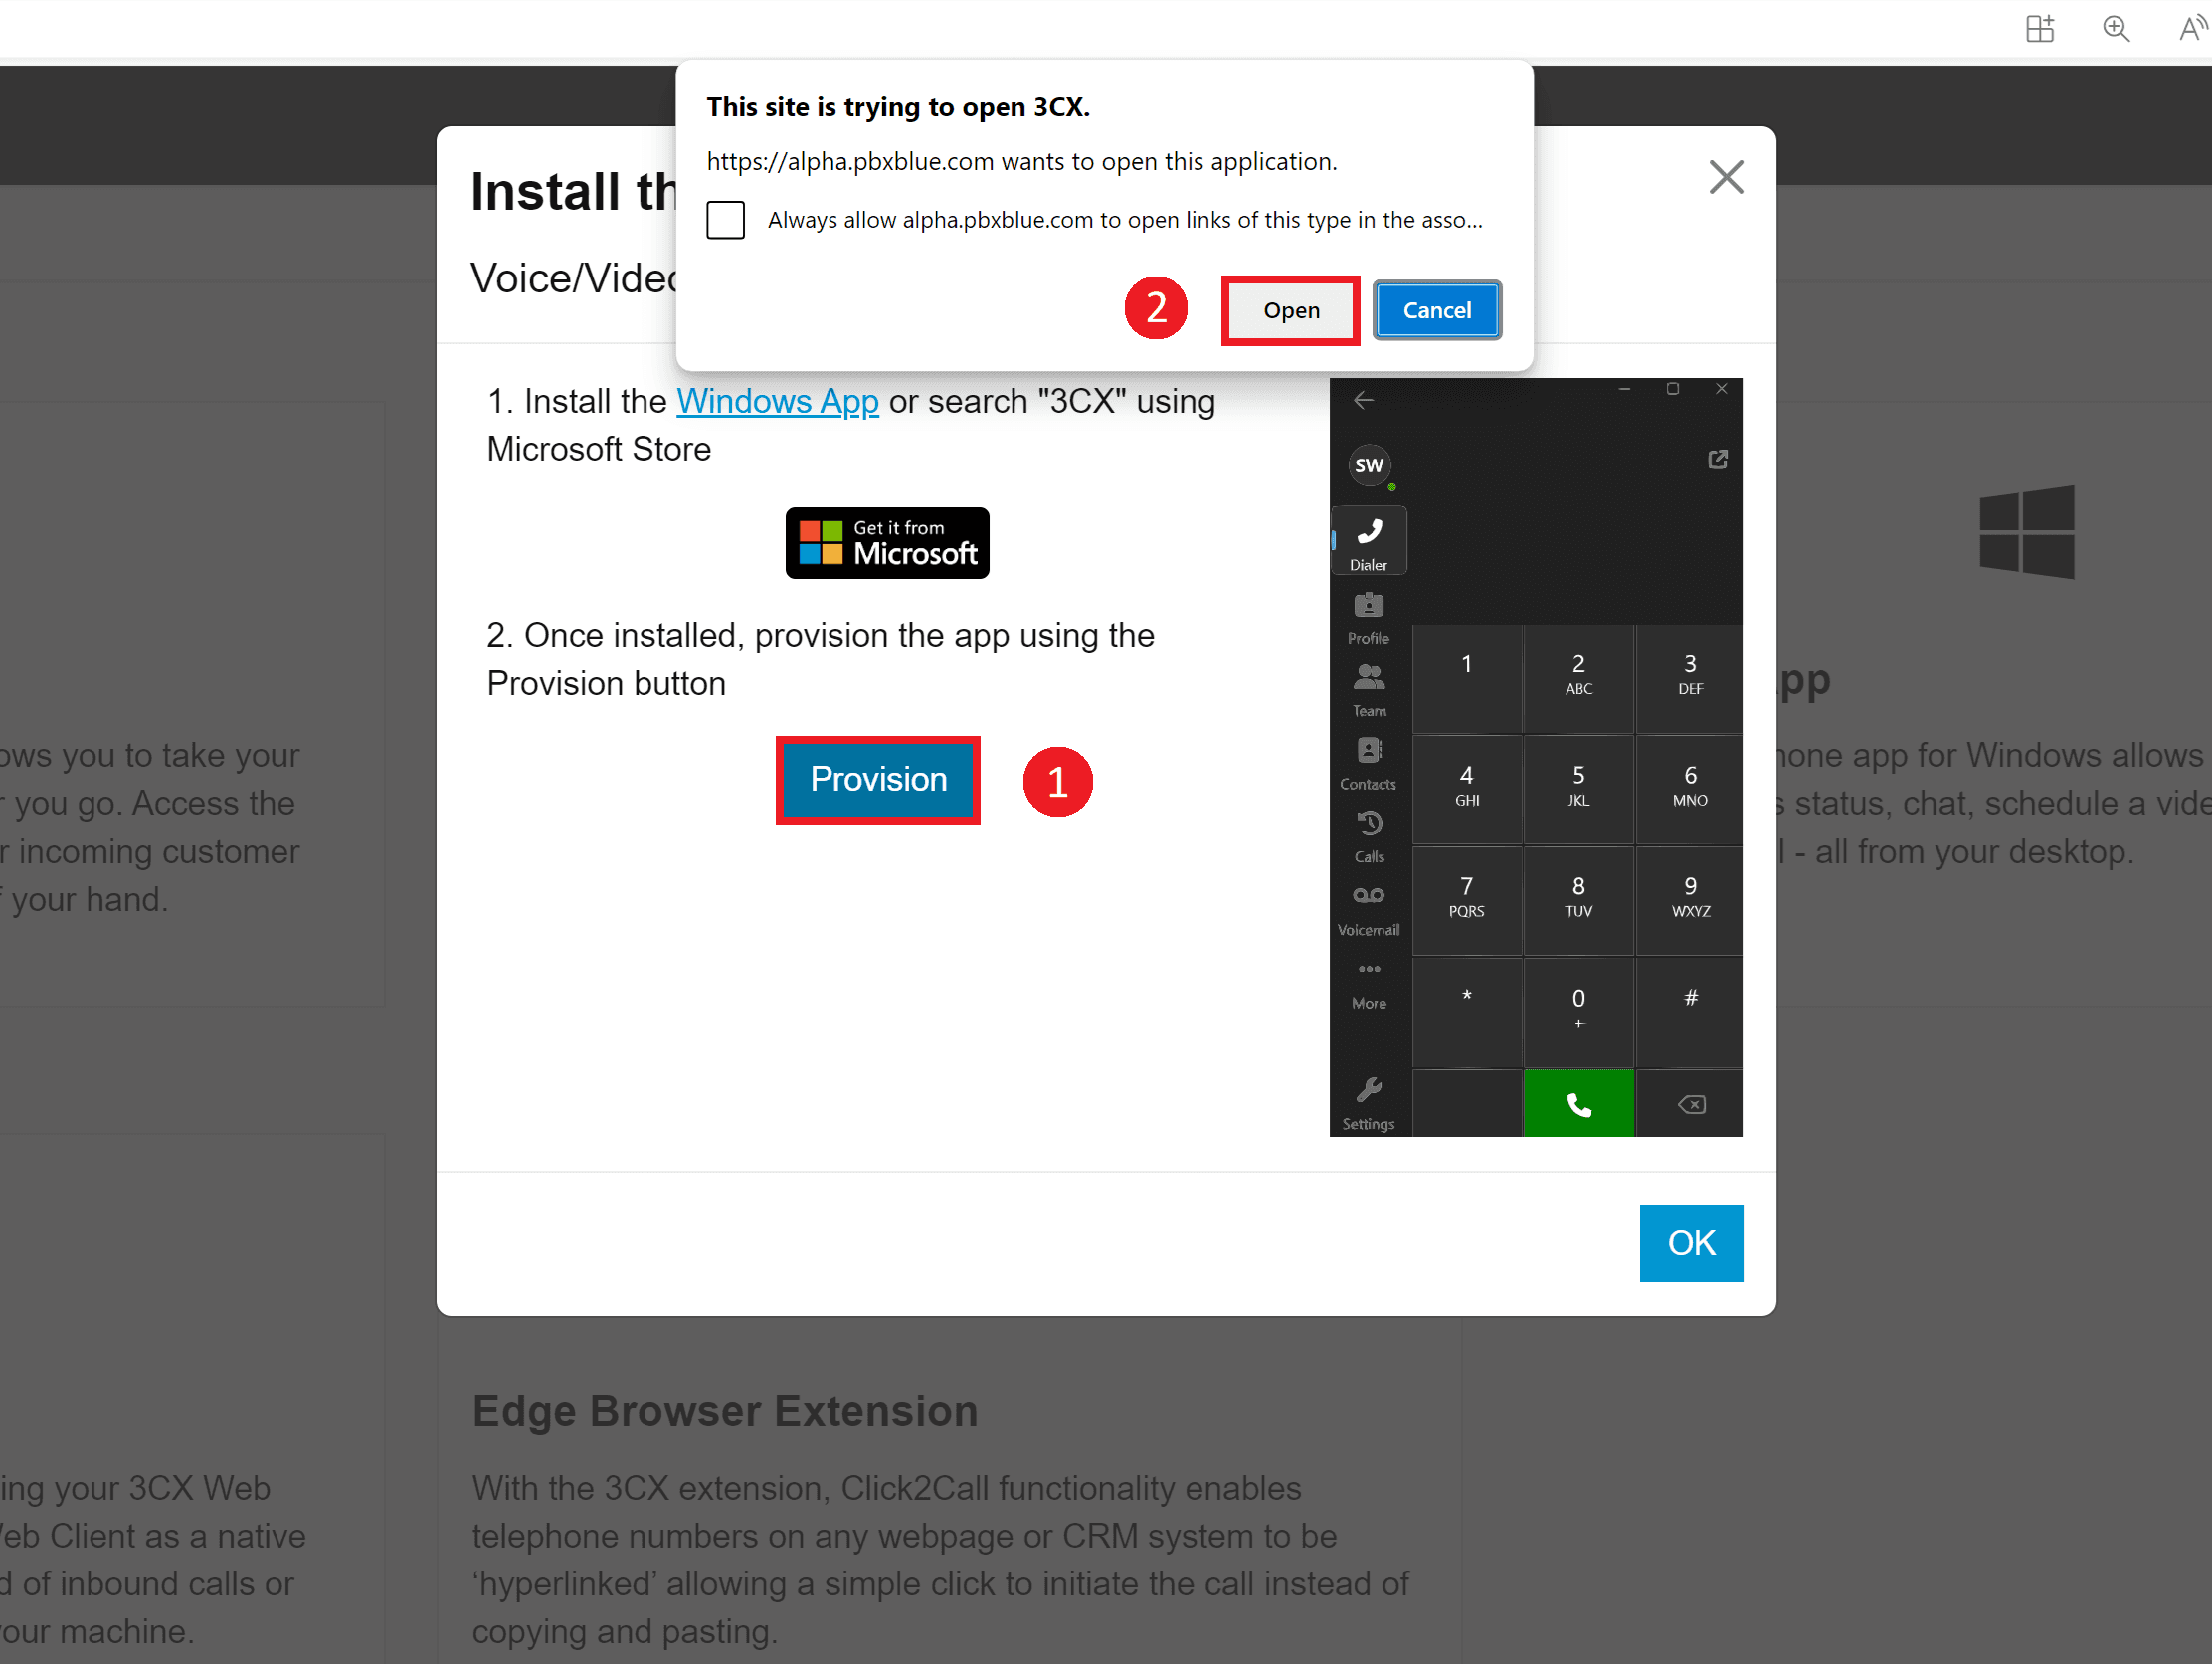
Once the newly installed 3CX app has finished installing, return to the webclient and click Provision, then Open to provision your 3CX client.
-
Your 3CX app should now open and be provisioned to your extension. Following this, the 3CX App may ask for more permissions to use your microphone and access your calls. You will want to allow access in all cases.
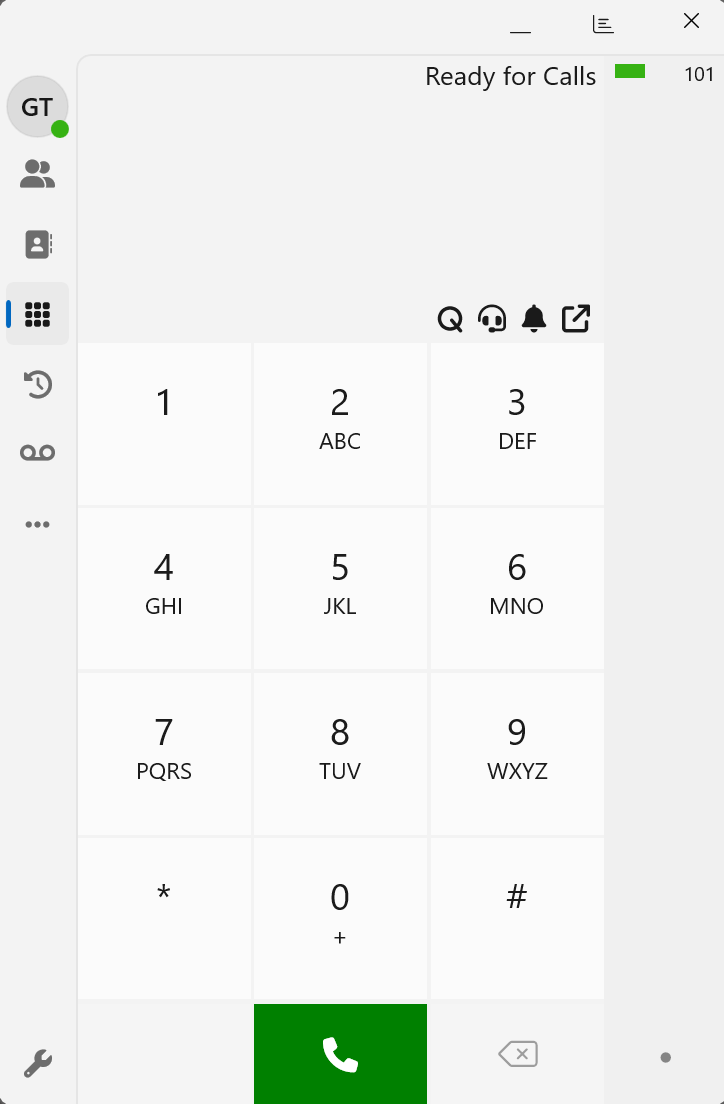
Congratulations, you are now ready to use the 3CX desktop app!